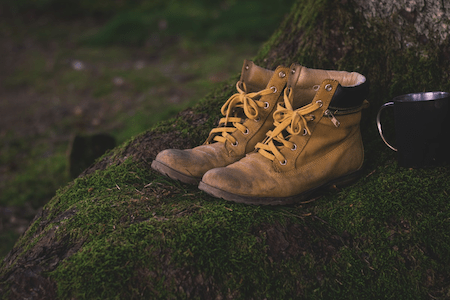
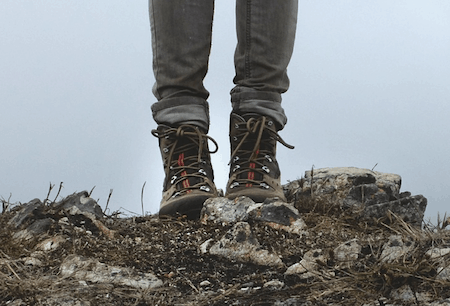
Hiking boots are your regular companion to fight against the dirt, mud, and dangers of the rough and tough trail of your hiking spot.
Every hiking item needs to be taken care of to ensure long-lasting company and your hiking boots are of no difference in this case.
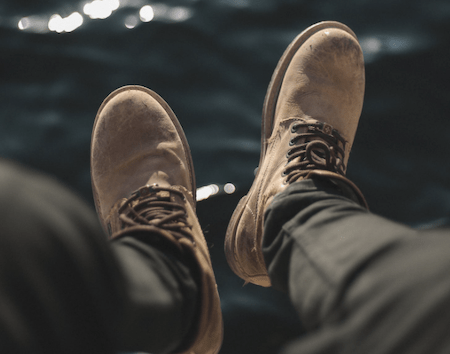
When you come back from a heavy hiking trip with mud and dirt on your boots, the very first thing that comes to your mind is to clean them thoroughly.
Well, if you are wondering and looking for ways to know how to wash hiking boots, then you are in the right place.
In this article, we will be discussing the cleaning process of hiking boots step by step for your convenience.
Table of Contents
The Importance Of Washing Hiking Boots?
When you open your hiking boots straight out of the box after buying them, they are perfect, no cleaning or maintenance needed.
But the moment you step outside in the wild, mud, dust, and dirt all start creeping in to make them messy enough.
Oftentimes, you have to go through campfire ashes, remaining creek water, and muddy surface which will eventually make your boots dirty and messy.
When you come back from your journey, your boots will be invisibly screaming to go through a good cleaning session before you store them for the next trip.
Because if you don’t do so, your shoe fibers will be abraded, the leather will be drying out faster, and finally, they will wear out prematurely.
As a result, you will not be able to wear them for long and you have to buy a new pair of boots again!
In order to ensure a durable company for years and to save your boots from decaying earlier, washing your boots after each hike is a must.
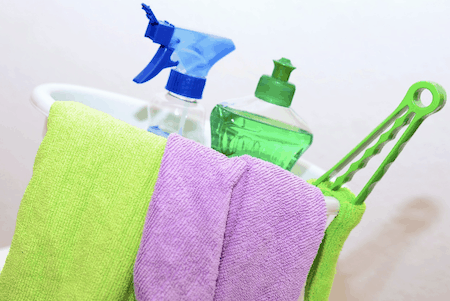
Washing Equipment
To wash your favorite hiking boots, you need the following equipment:
- A water faucet
- A tub or a sink
- Mild dish detergent
- Wet towel or cloth
- A brush
- Disinfectant
- Waterproofing treatment
- Boot Conditioner
How To Wash Your Hiking Boots: Procedure
From the point of removing dirt to the point of conditioning and drying the right way, all these steps are important to ensure a proper cleaning session.
Cleaning Process
#1. Remove Insoles And Laces
To start the dirt removing procedure, the very first thing you need to do is to remove the insoles and the laces.
It will get easier to wash your boots, once you remove the laces. This will allow you to have more access to the hard surfaces of the boots and lace holes as well.
On the other hand, insoles are well known as hygroscopic as they can absorb a great amount of moisture which will eventually make the whole cleaning process harder.
You can disinfect them by using disinfectant or even baking soda before you start washing off the dirt.
Now you can use the water faucet to rinse them with dish soap and warm water and let them dry once they are clean.
#2. Get Rid Of Dirt Deposits
To get rid of the dirt deposits, bang the boots together and again bang them on a hard surface. This will help the boots to force off sticky mud and soil and it will be easier for you to clean them.
Now, you can use a shoe brush that is made of stiff nylon to reach out the inner dirt and mud and make the boots ready for the cleaning session.
Meanwhile, if you find out that your boots are filled with tough salt stains, then you better soak those boots into the water for 1-2 hours.
#3. Clean The Outer Soles
Some of you might think it’s not that necessary to clean the outer soles of the boots, but they are as important as other parts of your hiking shoes.
These soles basically get exposed to the most amount of dirt than any other surface. You might discover a lot of caked mud and stones stuck all over the soles that need to be cleared away.
Take your time to remove all the stones out there and then flush out all the remaining soil and mud from your boot soles.
#4. Scrub And Wash With Water And Detergent
Once you are done cleaning laces, inner and outer soles, it’s time to go for the upper surface cleaning.
If you find the upper surface mixed with stubborn mud and dirt, then soak them for an hour or two before you scrub and clean thoroughly.
Use some warm water and mild dish detergent and scrub with the brush as long as there is any dirt.
After scrubbing for a while, you will initially understand that it’s time to rinse through with water all over again.
While scrubbing, you can also use a soft cloth instead of a brush, if the stains are not that tough enough.
However, you shouldn’t scrub so hard that the material of the boot gets harmed, it should be gentle and decent as required.
If you find any tough scuffs not getting away with detergent, you better use a pencil eraser, in that case, to remove the spot as well.
#5. Rinse And Wipe
Now it’s time to rinse and wipe away all the soapiness from the boots. As you are done with scrubbing, use a wet cloth or towel to clean the residue.
After rinsing the boots thoroughly, the next thing you need to do is to wipe out the water from the boots, so that they get ready to dry.
However, when you will be wiping the boots, the towel or the cloth might get soapy as well.
So, you need to rinse the cloth under running water for a while and squeeze it to wipe out the boots again.
#6. Keep The Boots Into Freezer To Remove Sap
Sometimes, your boots get attached to gum, sap, and wax-type materials that don’t go away with just a soapy wash.
In that case, you have to put your boots into a freezer for at least an hour or two.
This will harden the spot and the material so that you will be able to remove it by using a knife.
Waterproofing And Conditioning Process
#1. Use A Suitable Waterproofing Treatment
There are a good number of waterproofing solutions available in the market for specific product materials such as leather, suede, and synthetic.
To waterproof your boots, you need to find out a suitable waterproofing solution. Spraying such treatment helps your boots not to absorb extra water in the future.
If you don’t have any waterproofing substance while washing your boots, you can also use wax as an alternative option.
#2. Apply Specific Boot Conditioner
Once you are done waterproofing your boots, the next thing you need to do is to use a suitable conditioner that is specifically made for your boot material.
You will find out such conditioners available on the market, grab one of them, such as a silicon-based conditioner.
Apply the cream or the conditioner to retain the necessary moisture to your hiking boots.
This might not seem as necessary as other options but if you don’t want your boots to crack or wear out quickly, then this conditioning is really important.
However, make sure you don’t apply too much of it at once because this might make the boots too soft.
#3. Apply Chrome Polish To Metal Hardware
After every wash, don’t forget to polish the metal hardware around the hooks of shoelaces, as they are rust-prone.
If you don’t take care of this part of your hiking boots, then they would be harmed by rust and this will impact the overall look and sustainability of your boots badly.
So, take a cotton swab and apply some chrome polish to save the metal hardware of your boots from being rusty.
Drying Process
So, you are almost done, as you have completed your part of the action.
Now, let the sunlight do its own job to dry your lovely boots to complete the final process.
Place your boots in an open place where there is enough sunlight and air available.
As the inner part of your boots may hold some odor, try spraying some baking soda that will take away the odor once they are dry.
However, the inner soles might take more time to get dry, as the sunlight can’t directly reach there equally as compared to the outer surface.
In order to make the inner parts dry faster, use some crumpled newspapers and put them inside. These papers will absorb the wetness inside the boots and get damp with time.
Try to change the newspapers from time to time for an effective drying process.
However, some people might think it would be quicker and easier to dry the boots by using artificial heat sources such as blow dryers, radiators, or even an oven.
But, this will badly affect your boot hide fibers and lead to ill-fitting, cracked hiking boots.
So, you must avoid drying these artificial heat sources and try drying them with natural sunlight.
So, the whole cleaning process comes to an end with this drying process and now you are ready to store your boots for the next hiking journey.
But before that, are forgetting something?
Oh well, you have to place the laces and insoles back to your boots before you finally put them into the shoe shelf until you step outside for the next trip!
How To Clean Your Boots On The Trail
Sometimes, your hiking trip continues for days and you can’t wait that long to keep your boots uncleansed.
So, you feel the necessity to clean your boots while being on the trail.
This is almost obvious that you can’t really go through the complete cleaning session when you are out on the trail, but you can clean them in a way that they don’t get damaged in the meantime.
In order to do that, use a brush and a mild dish soap to scrub the dirt and debris and use any natural source of water to make them clean.
You can also use a piece of cloth and rub it on your boots where dirt and mud are attached.
However, you can only clean the outer surface in this process, not the inner ones as they require much care and time to get try and functional.
To get rid of the inner odor of the soles, you better use some anti-odor boot spray to feel fresh throughout the whole journey until you return home back.
This simple cleaning process is easy and simple yet effective enough as this will help your boots to be functional and durable to last longer.
When you come back from your trip, go through the whole cleaning process from first to last to enjoy the company of your boots for years with ease.
How To Take Care Of Your Hiking Boots
If you really want to enjoy good company with your hiking boots for years, then you have to take good care of those feet shields.
Not only just cleaning but also some other approaches are included in this whole process of taking care of your boots.
So, don’t forget to follow the following tips:
- Clean your boots after every hike and also in between. Dry those pairs of feet shield properly before storing them.
- Remove inner soles after each hiking day and let them get dry before you put them on. Insoles usually hold a good amount of moisture and they get wet and smelly after each day hike. So, it is important to remove them and use some odor-resistant sprays to feel fresh.
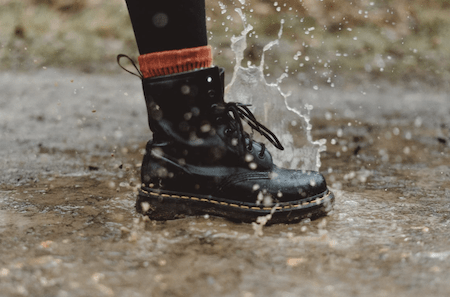
- Try to keep your hiking boots away from water as much as you can. If you have to go through watery ground anyway, try to use waterproofing treatment that would help you out in this case.
- Avoid saltwater as well, as this will lead to rust and corrosion of your boots’ metal hardware. If somehow they get soaked into the salty water, try to rinse them with natural water as early as possible.
Final Words
You have invested a good amount of money to wear those hiking boots every time you go out in the wild. They also require quality treatment if you want them to support you for years.
Once you know how to wash hiking boots and you follow the instructions carefully, you are going to enjoy good company with them.
We hope the whole article is going to be helpful enough for you to take good care of your lovely hiking boots.