Metal detecting adds a sense of adventure to hiking. With every step, you might discover lost coins, relics, or even tiny pieces of history hidden beneath the ground. For many hikers, carrying a metal detector changes a simple walk into a treasure hunt.
But before you set out, it’s important to understand the right ways to combine these two hobbies. Doing it well means you’ll enjoy your hike, avoid mistakes, and maybe make some surprising finds along the way.
Why Combine Metal Detecting And Hiking?
Metal detecting while hiking offers more than just the chance to find valuables. It can make your hikes more engaging and purposeful. You learn to pay attention to your surroundings, read the landscape, and sometimes connect with local history. Some hikers even use metal detecting as a way to clean up trails, removing sharp metal objects that could hurt others.
There’s also a physical benefit. Hiking with a detector adds a little extra weight and movement, which can make your exercise more effective. And since you’re outside for hours, there’s plenty of fresh air and vitamin D.
Essential Gear For Metal Detecting While Hiking
Success depends on the right equipment. Here’s what you’ll need for a safe and productive outing:
1. Lightweight Metal Detector
Choose a model under 3 pounds. Heavier detectors can become a burden over long distances. Look for one that folds or collapses.
2. Headphones
Trails can be noisy. Headphones help you hear faint signals and avoid disturbing wildlife.
3. Digging Tool
A small, sturdy digging tool is best. Many hikers use a hand trowel or a digging knife with a sheath.
4. Pinpointer
This small device helps you quickly find targets in the dirt, reducing how much you have to dig.
5. Backpack
Carry a compact backpack for your detector, water, snacks, and finds. Padded straps protect your shoulders.
6. Gloves
Protect your hands from sharp metal or glass.
7. Finds Pouch
Use a pouch or zippered bag for the items you recover.
8. Gps Or Map
Trails can twist and turn. A GPS or traditional map helps you stay on course.
9. Water And Snacks
Never underestimate how much energy you’ll use. Bring enough for your entire hike.
10. Spare Batteries
Metal detectors and pinpointers use batteries quickly. Always pack extras.
Choosing The Right Trail
Not every hiking trail is suitable for metal detecting. Here’s how to pick the best ones:
- Check the Rules: Some parks and reserves ban metal detecting to protect wildlife or historical sites. Always check local regulations.
- Look for History: Trails near old settlements, picnic sites, or abandoned buildings often have more finds.
- Avoid Protected Land: National parks and historical preserves are usually off-limits.
- Trail Difficulty: Start with easy or moderate trails. Steep or rocky paths can make detecting difficult and dangerous.
Tips For Safe And Responsible Detecting
Metal detecting is fun, but it comes with responsibilities. These tips keep you safe and respectful:
- Leave No Trace: Fill every hole you dig. Use a small trowel and replace the soil and grass neatly.
- Respect Wildlife: Loud noises and digging can disturb animals. Be as quiet and gentle as possible.
- Stay on the Trail: Avoid wandering off, as this can damage delicate plants or habitats.
- Report Valuable Finds: If you discover something of historical or significant value, report it to the local authorities.
- Watch the Weather: Metal detectors don’t work well in heavy rain, and storms can be dangerous on open trails.
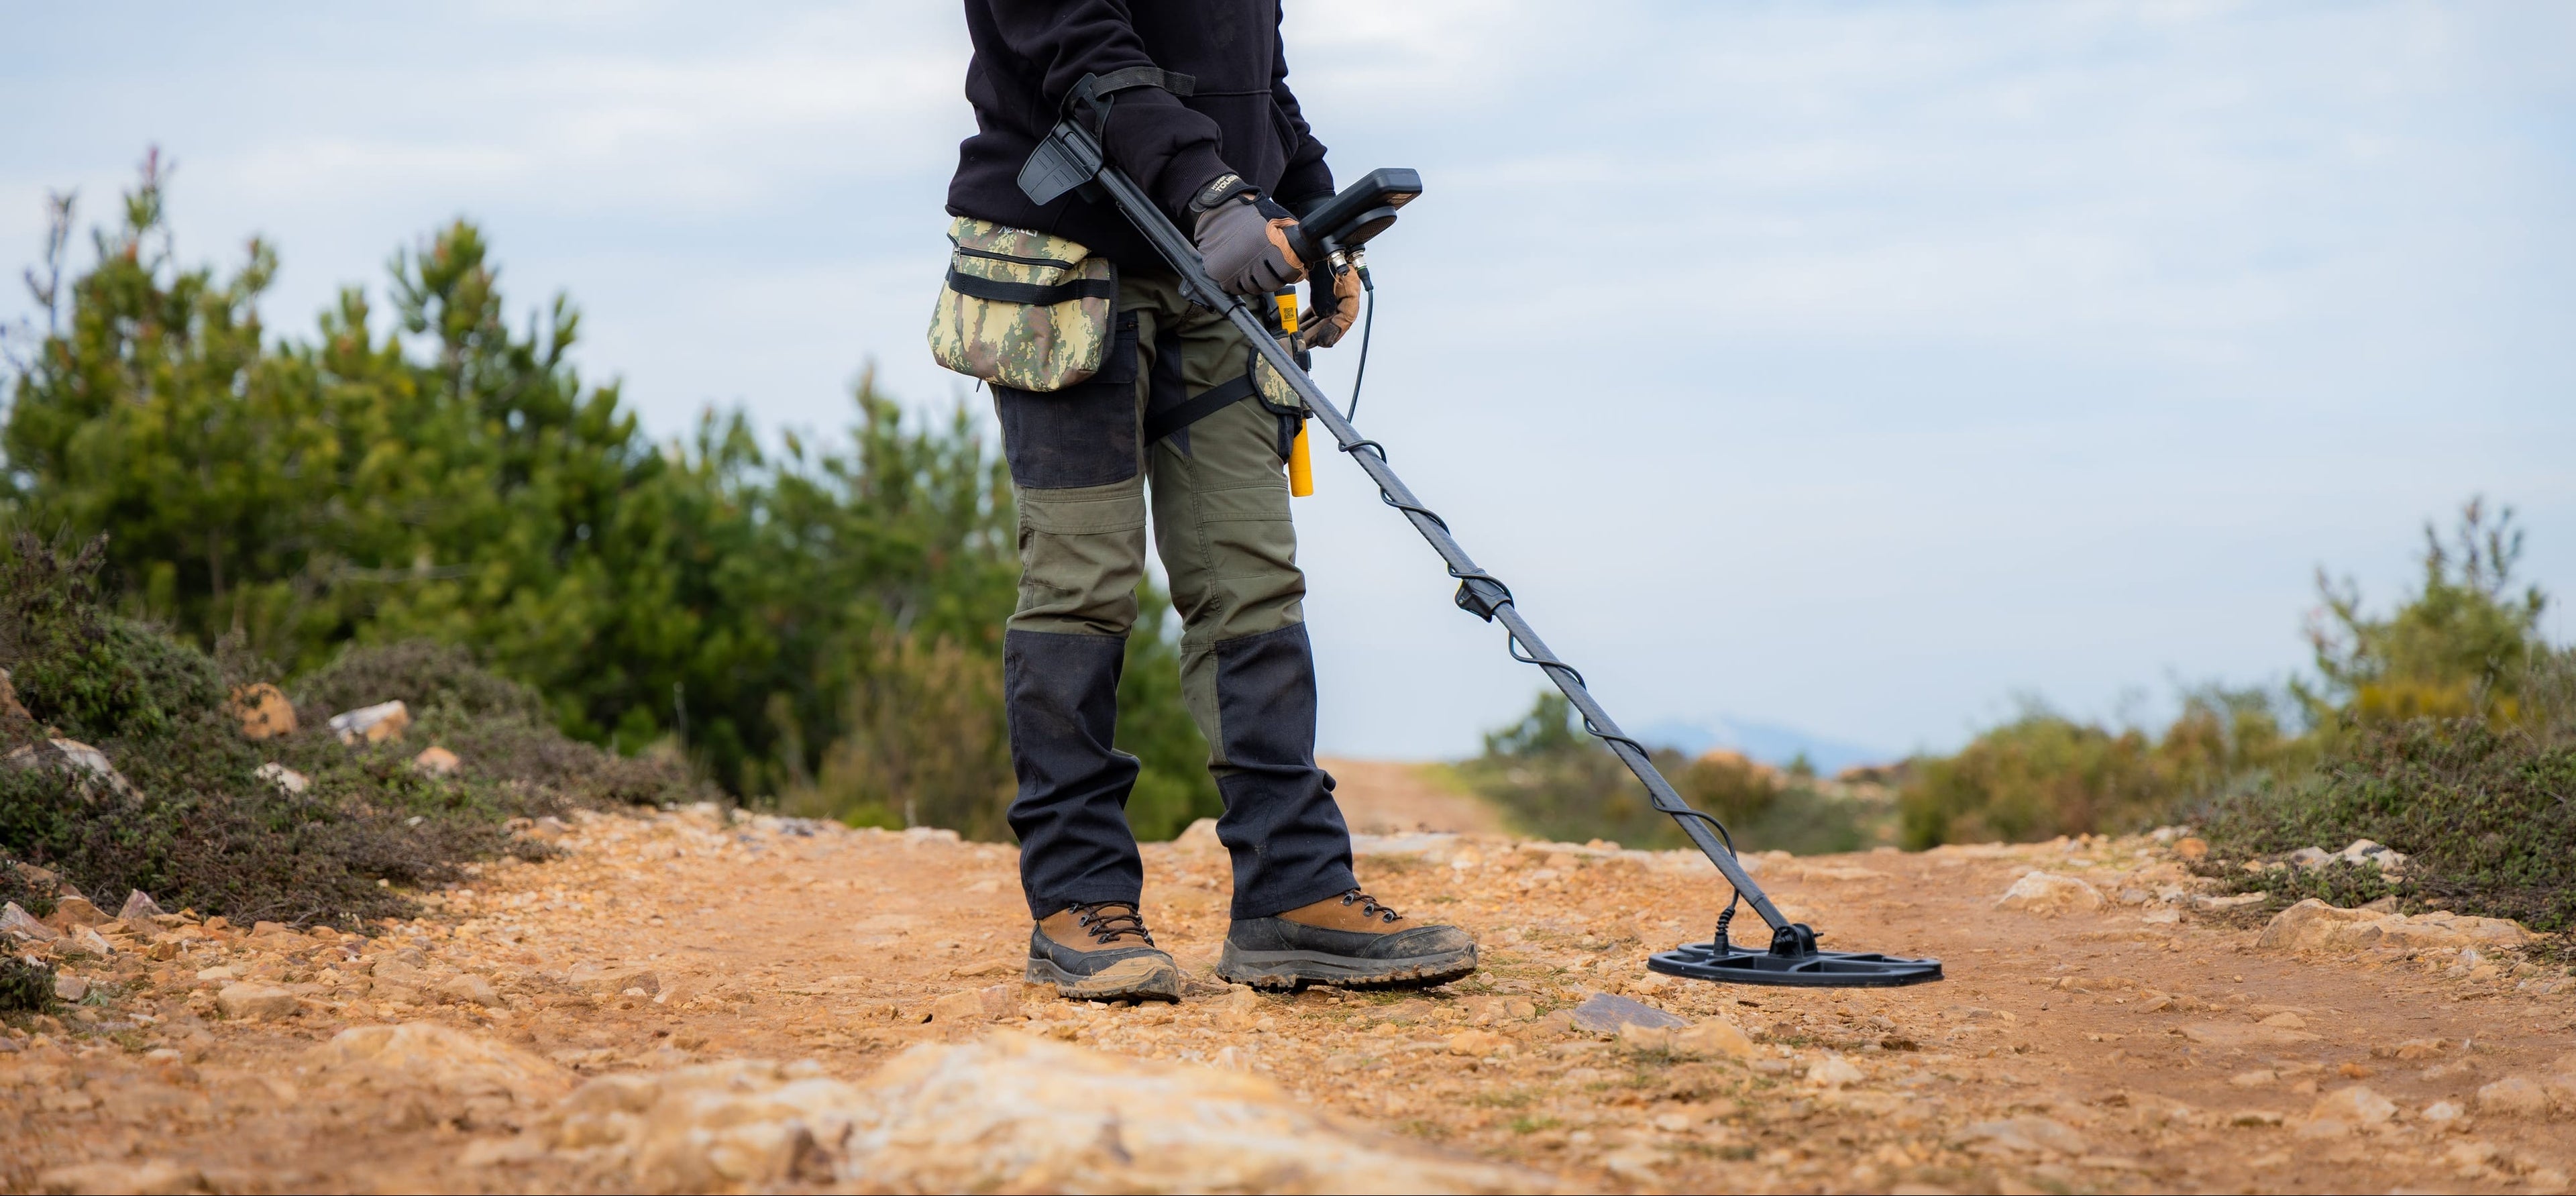
Credit: www.detect-ed.com
What Can You Find? Realistic Expectations
Many new hobbyists imagine gold coins or ancient treasures. The truth is, most finds are less dramatic. Here’s a breakdown of common items:
| Item | Chance of Finding | Notes |
|---|---|---|
| Modern coins | Very common | Often dropped along trails |
| Old bullets/casings | Common | Found on hunting trails |
| Jewelry | Rare | Usually near picnic areas |
| Relics/tools | Occasional | Near old sites |
| Trash (cans, foil, nails) | Very common | Most signals are trash |
Most signals you dig up will be modern coins or trash. But every so often, you might find something unique—a lost ring, a silver coin, or an old tool. Many hikers enjoy the anticipation and the surprise, even when the finds are simple.
Comparing Detectors For Hiking
Not all metal detectors are built for the trail. Here’s a quick comparison of popular types:
| Type | Weight | Battery Life | Price Range |
|---|---|---|---|
| Entry-level | 2.5 lbs | 15-20 hrs | $100-$250 |
| Mid-range | 2.8 lbs | 20-30 hrs | $250-$500 |
| Professional | 3.2 lbs | 30-40 hrs | $500-$1200 |
A lightweight, entry-level detector is usually enough for most hiking adventures. The main features to consider are weight, battery life, and how easily the detector packs down.
Non-obvious Insights For Hikers
Many beginners miss these important points:
- Soil Moisture Matters: Damp soil improves detection depth. After rain, signals can be stronger and easier to locate.
- Detector Height: Keep the search coil close and parallel to the ground. Lifting it even a little reduces accuracy.
- Seasonal Changes: In winter or early spring, fallen leaves and soft soil make digging and detecting much easier.
- Signal Discrimination: Learn how to adjust your detector to ignore trash signals. This saves time and effort.
Real Stories From The Trail
Some hikers have found old military buttons, silver dimes, or even lost wedding rings while out with a detector. For example, a hiker in Vermont found a 19th-century copper coin along a well-used forest path. Another in California discovered a collection of vintage bottle caps from the 1950s, giving a glimpse into the area’s picnic history.
It’s not always about value. Many enjoy piecing together the story of a place through the items they find.
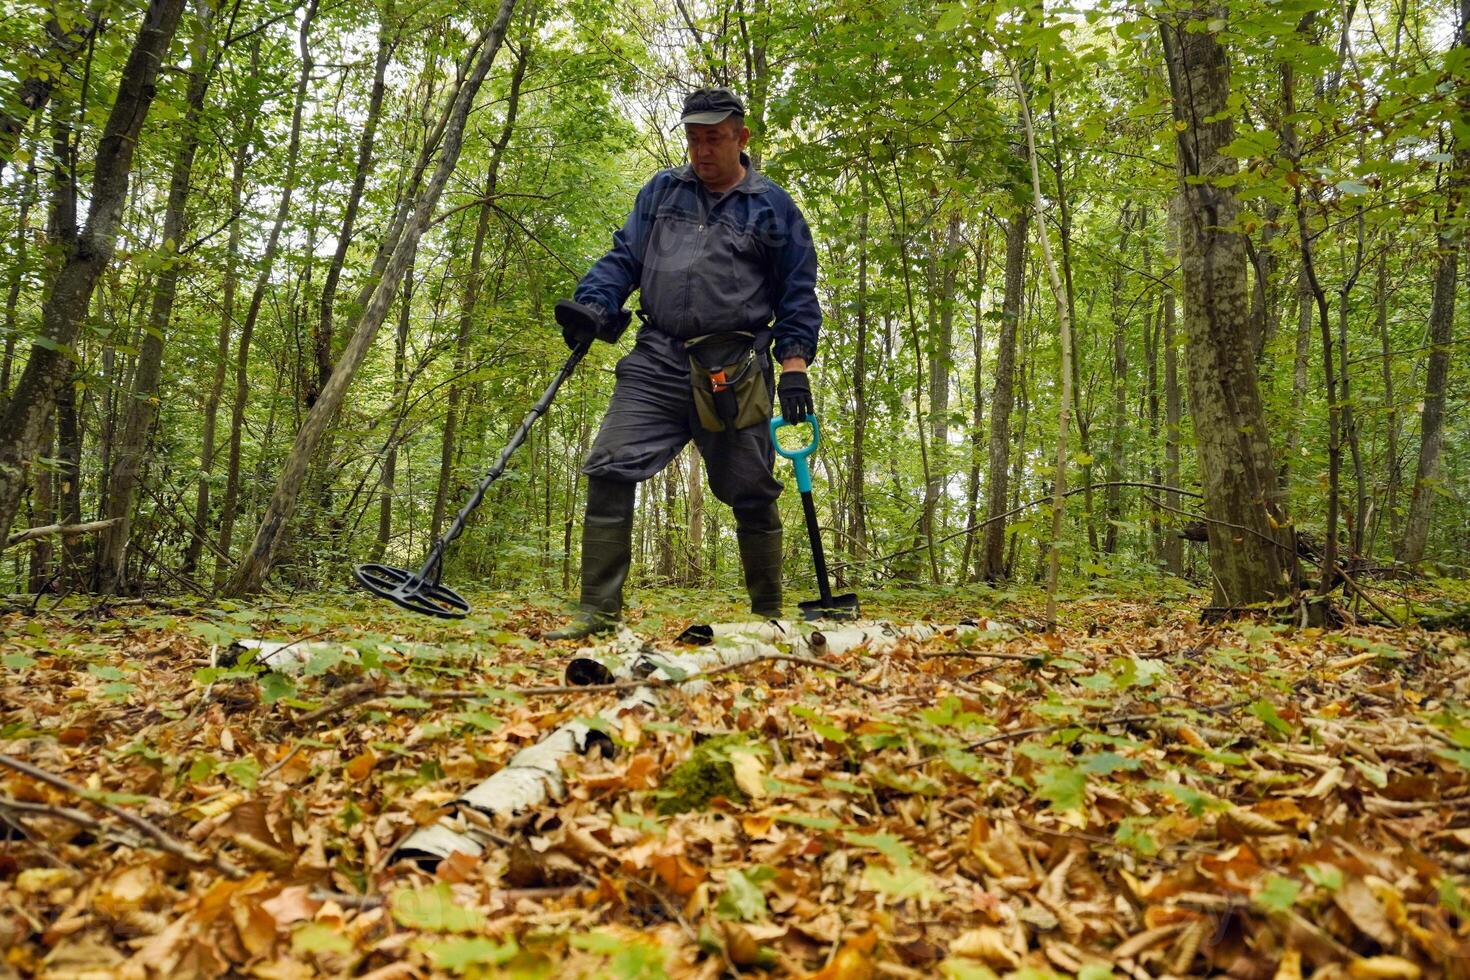
Credit: www.vecteezy.com
Hiking And Metal Detecting Etiquette
Remember these unwritten rules:
- Be Polite: If you meet other hikers, greet them and explain what you’re doing if they ask.
- Share the Trail: Don’t block paths or dig in the middle of busy walkways.
- Pack Out Trash: If you find litter, take it with you. This improves the trail for everyone.
Frequently Asked Questions
How Do I Know If Metal Detecting Is Allowed On My Hiking Trail?
Check the website or office of the park or land manager. Rules can change often. Many public parks post guidelines online, such as on the National Park Service site.
Can I Keep Everything I Find While Hiking?
Not always. Items of historical or significant value may belong to the landowner or government. Always report significant finds and follow local rules.
What’s The Best Time Of Year To Metal Detect While Hiking?
Spring and fall are ideal. The ground is softer, and temperatures are comfortable. After heavy rain, signals are often stronger.
Do I Need A Special License Or Permit?
Sometimes. Some public lands require a permit for metal detecting. Always check before you go.
Is Metal Detecting While Hiking Safe?
Yes, as long as you follow safety guidelines: stay on marked trails, watch for wildlife, and avoid hiking alone in remote areas.
Combining metal detecting with hiking can turn a simple walk into an adventure. With the right gear, respect for nature, and a sense of curiosity, you can explore the outdoors in a whole new way. Happy hunting!

Credit: www.shutterstock.com